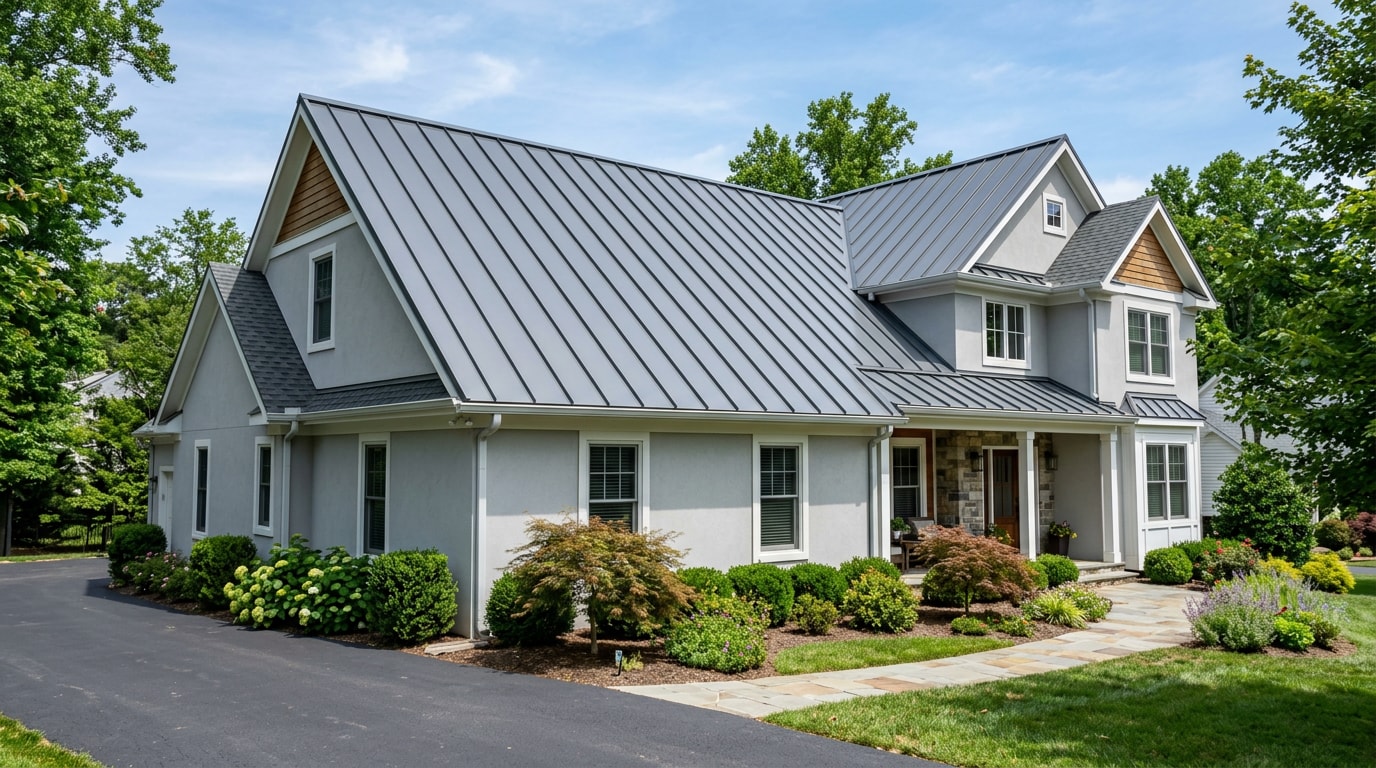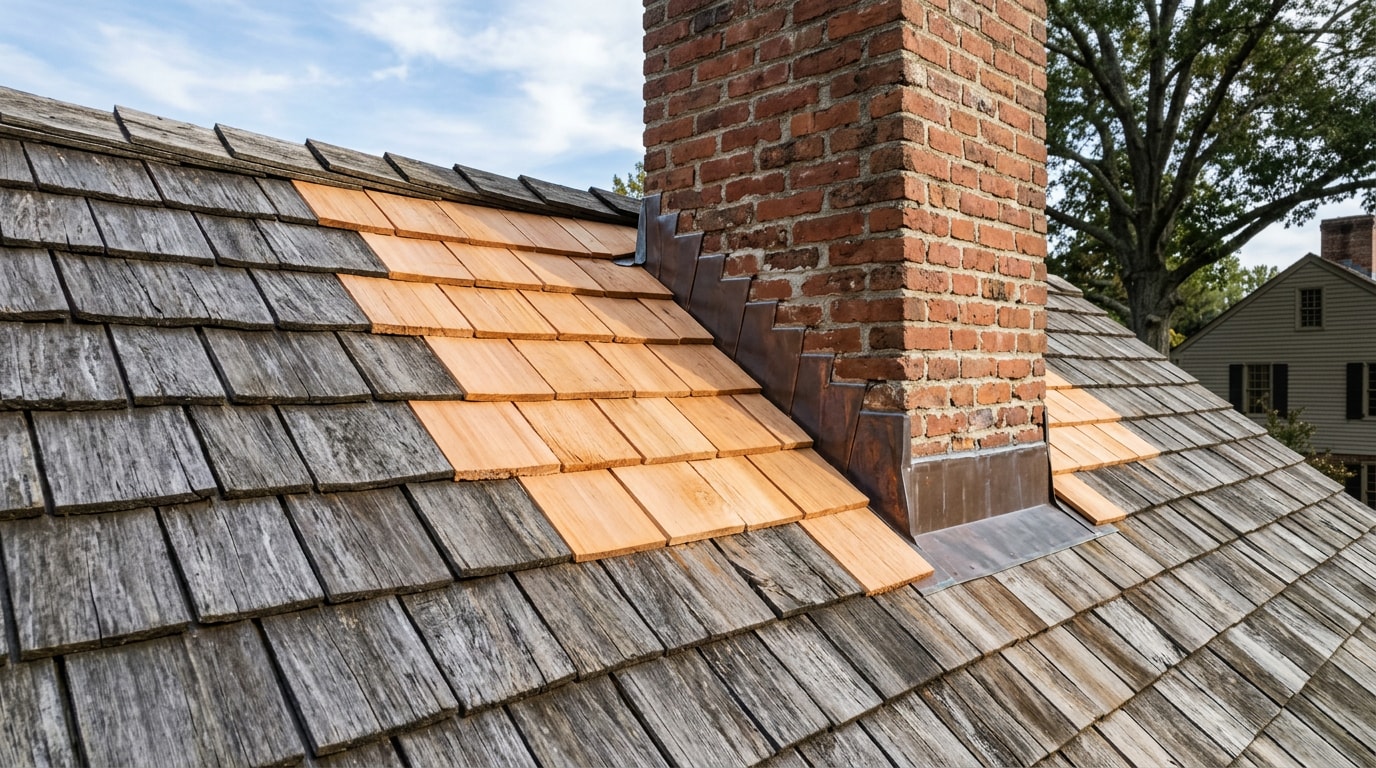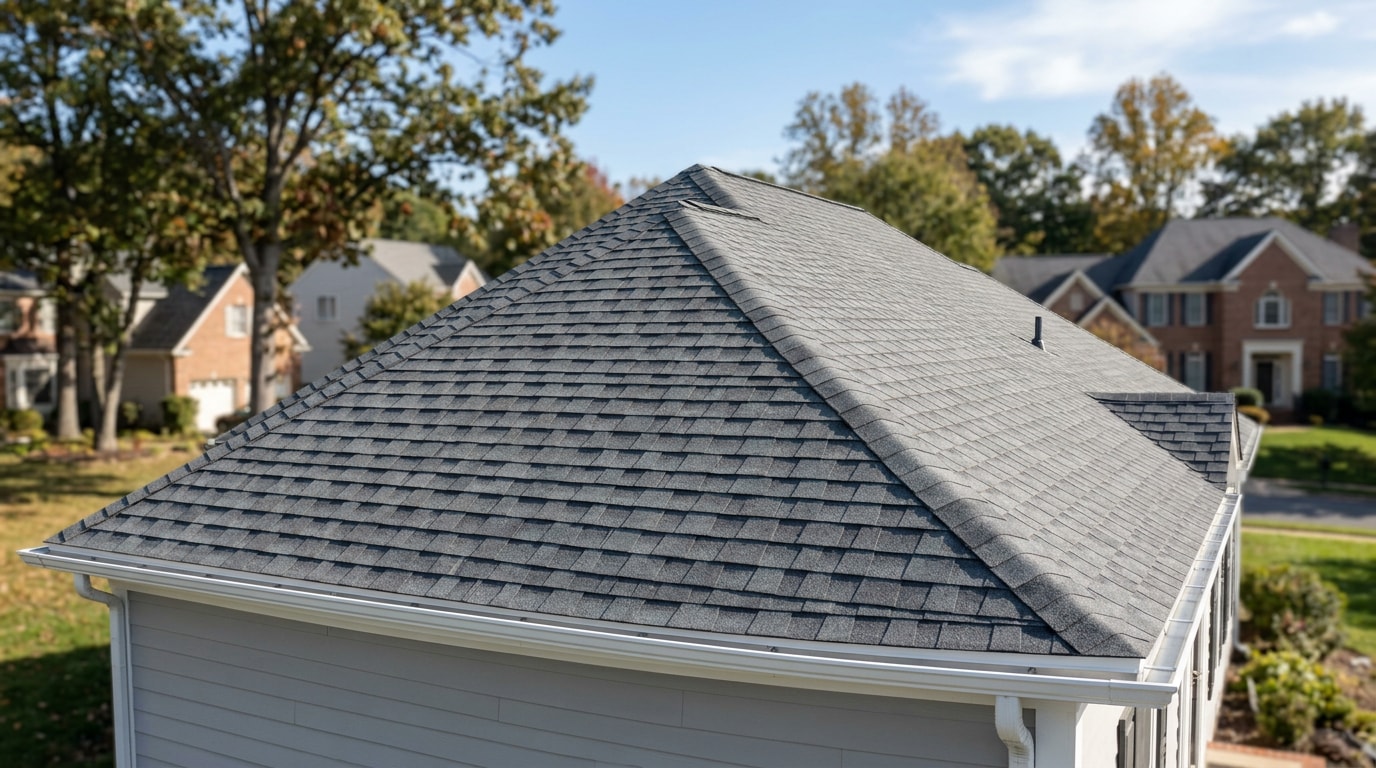
Installing architectural shingles in Reston, VA involves more than a nail gun and a free weekend. Fairfax County permit rules, HOA review standards, and the region's freeze-thaw winters all shape how the job should go. This guide walks through every step, deck prep to ridge cap, with the local details most national how-to articles skip.
Style Installation Inc. is a licensed roofing contractor that has installed and repaired shingle roofs throughout Reston and the rest of Northern Virginia for years. The field notes below, including which nailing pattern to use and where homeowners most often get tripped up on older decking, come from that hands-on experience.
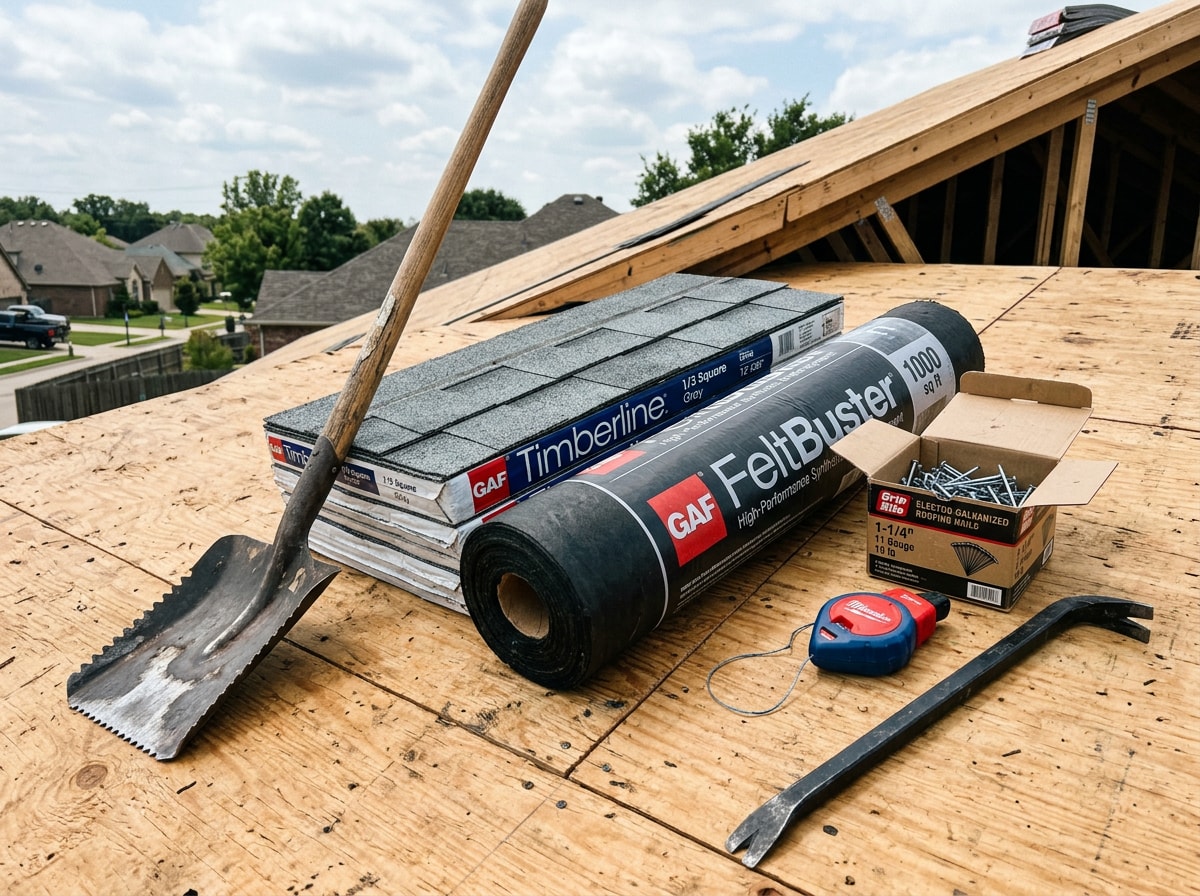
Tools and Materials Needed
Gather these before you climb the ladder:
Tools:
- Roofing nail gun or hammer
- Utility knife
- Chalk line
- Flat pry bar
- Roofing shovel
- Extension ladder
- Fall-protection gear
Materials:
- Architectural shingles
- Underlayment
- Starter strip shingles
- Drip edge
- Ice and water shield
- Ridge cap shingles
- Roofing cement
- Galvanized roofing nails
Most architectural shingles cover 33.3 square feet per bundle, with three bundles making up one "square" (100 square feet). Measure your roof area first, then add 10 to 15% for waste, valleys, and cuts before ordering.
Steps to Install Architectural Shingles
DIY installation is possible on a straightforward roof, but Reston's HOA architectural review and Fairfax County permitting add steps that most national guides don't mention. Check both before you touch a single shingle.
1. Prepare the Roof Surface
Tear off the old shingles, pull every nail, and inspect the sheathing for soft spots, rot, or delamination before anything new goes down. Replace damaged decking now. New shingles over weak plywood will fail early no matter how well they're nailed.
Sweep the surface clean and flat. Fairfax County treats roof work as a permitted project in most cases. Residential projects that include roof repairs are among the project types that require a permit in Fairfax County . Confirm your specific scope with the Fairfax County permit library before you remove the old roof.
If your project is larger than a simple re-roof, our roof tear off crews handle the demolition and disposal side so the deck is ready for inspection the same day.
2. Install Underlayment, Drip Edge, and Starter Strip
Roll out underlayment horizontally, overlapping each row by at least 2 to 4 inches, working from eave to ridge. Install drip edge along the eaves first, then the rakes, overlapping the underlayment correctly at each edge so water sheds away from the fascia.
Ice and water shield belongs at eaves, valleys, and any low-slope section prone to ice damming, a real concern during Reston's colder months. The model code most jurisdictions adopt is specific on this point: an ice barrier consisting of at least two layers of cemented underlayment or a self-adhering polymer-modified bitumen sheet must extend from the lowest roof edge to a point at least 24 inches inside the exterior wall line . Reston's snow totals are modest by national standards, but they're not zero; the area averages roughly 22 inches of snow per year , enough for ice damming on north-facing eaves during a hard freeze.
Lay starter strip shingles along the eave with the adhesive strip facing up, overhanging the drip edge by about 1/4 to 3/8 inch to protect the fascia and seal the first course against wind-driven rain.
3. Establish Chalk Lines and Your First Course
Snap horizontal chalk lines up the deck to keep each course level. Space them to match your shingle's exposure, usually 5-5/8 inches for standard architectural shingles. Snap a vertical line too, so alignment stays consistent across the roof.
Start your first course at the eave, aligning the shingle edges with the starter strip underneath. Keep the drip-edge overhang consistent and recheck your lines every few courses. Small misalignments compound fast over a 30-foot run.
4. Nail the Shingles Properly
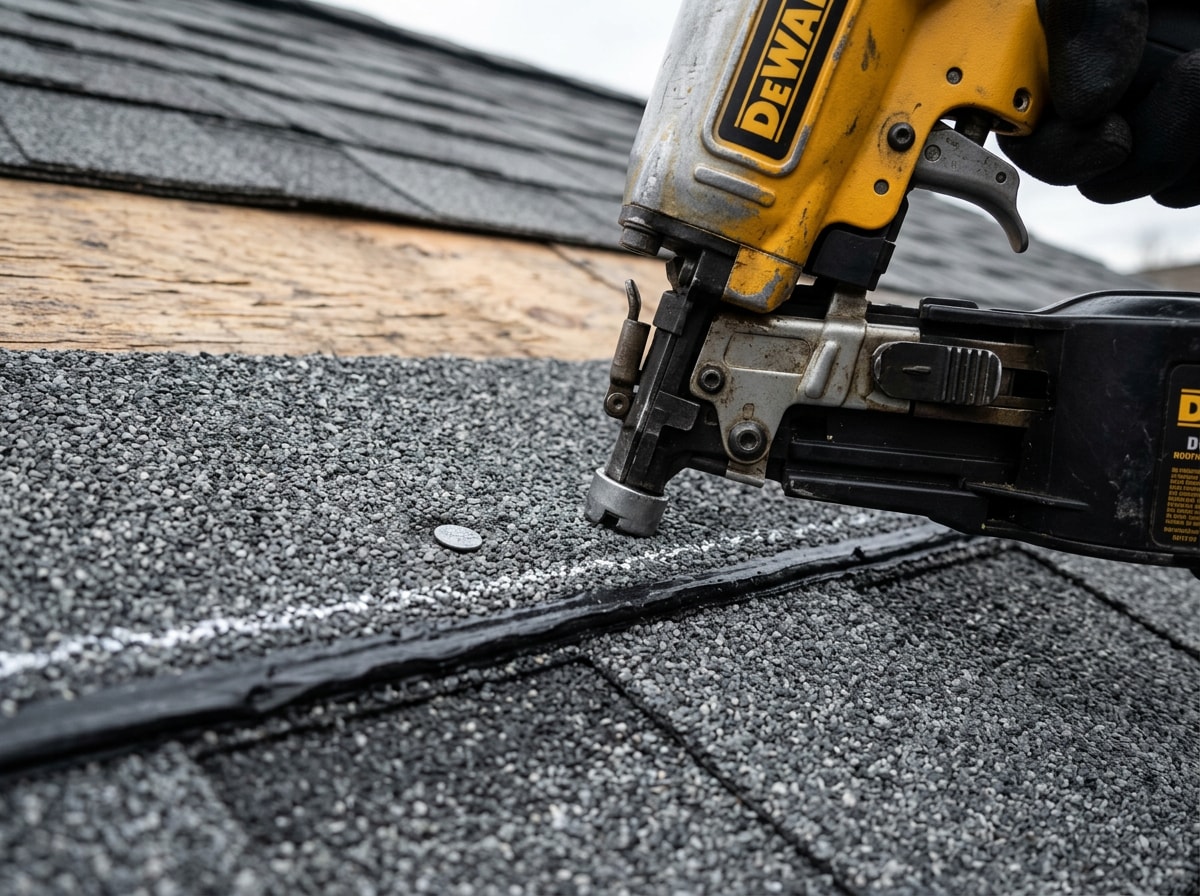
Most architectural shingles need four nails per shingle in standard conditions, placed just above the adhesive strip and within the manufacturer's nail zone. In high-wind areas, a six-nail pattern is the stronger choice, and it's worth considering even outside hurricane-prone regions given Northern Virginia's wind exposure.
Nailing specs vary by brand and by wind-warranty tier. One widely cited example: GAF's Timberline UHD shingles carry a 15-year limited wind warranty rated for winds up to 110 mph with four nails per shingle, or up to 130 mph with six nails .
| Manufacturer | Standard Pattern | High-Wind Pattern |
|---|---|---|
| GAF | 4 nails | 6 nails |
| Owens Corning | 4 nails | 6 nails |
| CertainTeed | 4 nails | 6 nails |
Always confirm with your specific shingle's application instructions, since overdriven or underdriven nails are a leading cause of early shingle failure and voided warranties.
5. Continue Shingle Courses and Work Around Obstacles
Work up the roof course by course, staggering the tabs so vertical joints don't line up between rows. This staggered pattern is what gives architectural shingles their wind resistance and water-shedding performance. Keep exposure consistent at every course using your chalk lines as a check.
Around vents, chimneys, and skylights, install proper flashing: step flashing along vertical walls and vent boot flashing sealed tight around pipe penetrations. These details matter more than the shingles themselves when it comes to preventing leaks. For larger or more complex roofs, our roof installation team can handle the trickier penetration work.
6. Install Valley Flashing and Weatherproofing Details
Valleys carry more water volume than any other part of the roof, so flashing needs to extend at least 8 inches up each side of the valley centerline, with shingles trimmed to maintain that clearance. Skipping or shortcutting valley flashing is one of the most common causes of hidden leaks years down the line.
Give the same attention to flashing where the roof meets walls, dormers, and chimneys. These transition points need continuous, overlapped protection, not just caulk, to stay watertight through Reston's freeze-thaw winters and heavy spring rains.
7. Handle Ridge Areas and Install Ridge Cap Shingles
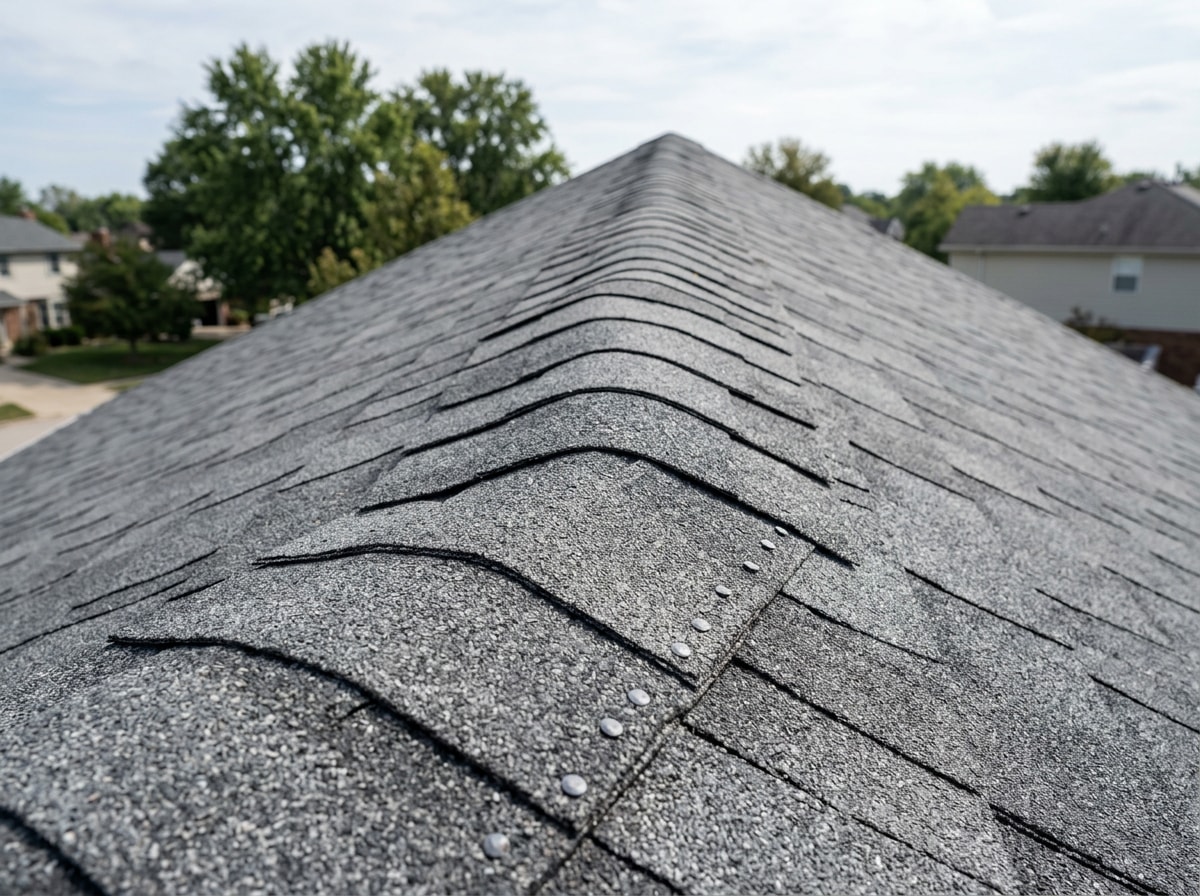
As you approach the ridge, adjust your final course exposure so it lines up cleanly instead of leaving an awkward partial row. Start installing ridge cap shingles at the end opposite the prevailing wind direction, overlapping each cap shingle to shed water correctly.
Nail ridge caps according to the manufacturer's spacing, typically one nail per side just below the exposure line, and keep ridge vents unobstructed if your roof uses them for attic ventilation.
If your property also has a flat or low-slope section, such as an addition or porch roof, the installation process differs. Our guide to Torch Roofing in Reston, VA: 2026 Cost & Lifespan Guide covers that separately.
Not every homeowner wants to spend a weekend on a ladder. If you'd rather hand off the project, get a free estimate and our crew will walk the roof with you before any work starts.
Common Challenges and Mistakes
Most failed DIY shingle jobs trace back to a handful of avoidable mistakes.
Weather Delays
Rain, extreme heat, and cold temperatures all affect how well shingle sealant strips bond. Cold weather below roughly 40°F can delay proper sealing for weeks, while Northern Virginia's humid summer afternoons can make shingles too soft to walk on safely. Plan your install window around milder, dry stretches in spring or fall.
Ignoring Roof Deck Condition
Skipping a thorough deck inspection is a costly shortcut. Even perfectly installed shingles can't compensate for rotted sheathing underneath. Soft spots often mean nails won't hold, leading to blow-offs and leaks within a few seasons. If your roof is older and you're not sure what's under the shingles, a roof repair inspection before you order materials can save you from a mid-project surprise.
Incorrect Overlap Patterns
Insufficient stagger or overlap between courses creates weak points where water works its way underneath over time. If you're unsure whether an older roof was installed correctly, a roof replacement assessment can check for overlap issues before they turn into leaks.
Style Installation Inc. serves homeowners throughout Reston, VA and the surrounding Northern Virginia area. Visit our homepage to see the full range of roofing, gutter, and skylight services we offer.
FAQ
How long does it take to install architectural shingles?
A professional crew typically finishes an average residential roof in one to three days, depending on size and pitch. First-time DIYers should expect that timeline to stretch to one or two weekends, especially with weather delays or a steep roof pitch slowing things down.
Can you install architectural shingles yourself?
DIY installation is realistic on simple, low-pitch roofs if you're comfortable with heights and basic carpentry. Warranty terms, safety risks, and Fairfax County code compliance make hiring a pro worth considering for steeper or more complex roofs.
How many nails per architectural shingle do you need?
Standard installations typically use four nails per shingle, placed within the manufacturer's nail zone. High-wind conditions call for a six-nail pattern instead, which many Northern Virginia homeowners choose even without a strict code requirement, simply for added wind resistance.
Can you install architectural shingles over existing shingles?
Installing over existing shingles is sometimes allowed by code, but most roofing professionals recommend a full tear-off instead. Overlaying hides deck damage, adds significant weight, and can void shingle warranties. Check with a local roofing contractor before deciding which approach fits your roof.
Do you need a permit to install architectural shingles in Fairfax County?
In most cases, yes. Roof repair and re-roofing work falls under the projects that require a permit in Fairfax County, and the requirement applies whether you're doing the work yourself or hiring a contractor. Check the scope of your project against the county's permit library before ordering materials, since skipping a required permit can complicate a home sale later.